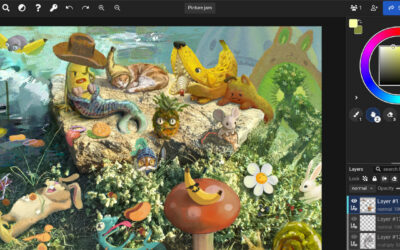
ArtWod is an online art school that offers a complete roadmap for you to follow at your own pace, and a variety of ways to improve your art skills while having fun and connecting with a community. They offer art “workouts,” drawing courses, painting courses, art classes for specific techniques, and art puzzles to keep the learning both fun and engaging.
They also offer a variety of short tips and tutorials on their YouTube channel. In the video below, they go over a drawing technique called “T-Lines” that can help your work improve dramatically. Watch and/or read along to learn how this technique can boost your own digital art practice.
Note: This guest article was written by and originally appeared on ArtWod’s blog. It is republished with permission.
The One Drawing Trick That Makes Your Art Stand Out
Have you ever wondered why some drawings look really real, while others seem flat? Today, you’ll discover the magic of T-Lines – a super simple trick that can take your art to the next level. This is the one drawing technique every young artist should know!
What is a T-Line in Drawing?
T-Lines are special lines that look like the letter “T.” Artists use them to show when things in a picture go over or hide behind something else. Imagine stacking blocks: the top block covers part of the bottom one. A T-Line helps you show that in your picture!
For more easy drawing tricks, check out 6 Steps to Draw Anything: A Beginner’s Guide.
Why Are T-Lines Important?
T-Lines make your art look more real – like it’s popping off the paper! Without them, your drawings can look flat or weird. But when you use T-Lines, suddenly your characters, arms, faces, and even clothes look cool and 3D.
See how dynamic lines can bring life to your figures in Dynamic Figure Drawing Guide.
When Should You Use T-Lines?
Use T-Lines whenever something in your drawing goes on top of or in front of something else! For example:
- Drawing arms, legs, or fingers that bend or cross
- Making faces or noses stand out from heads
- Showing wrinkles and folds in clothes
Hot tip: Try using T-Lines for anything that overlaps!
JUMP START YOUR LEARNING WITH OUR FREE E-BOOK!
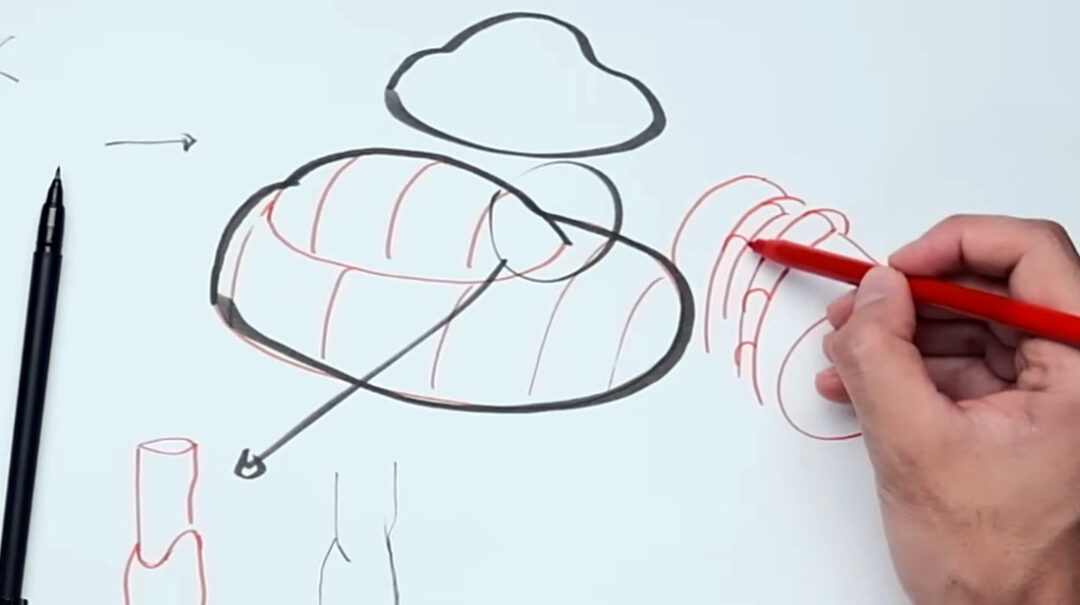
How to Draw a T-Line (So Easy!)
- Draw your shapes (like a circle and a cylinder).
- When they touch, add a tiny “T” where they overlap.
- Use a darker line for parts that are closest to you, and lighter lines for the rest.
That’s it! Now your shapes look like they really connect. Why wait? Start practicing now!
Bonus: Try Different T-Lines!
T-Lines don’t always have to be straight. Try making them wavy, curved, or even a “broken” line to show things like soft fabric, thick lips, or hair. Experiment and have fun finding what works for your style!
For more on adding fun line tricks, read Drawing Principles for Beginners: Unlocking the Secret Link Between Drawing and Painting.
Practice Makes Perfect!
Don’t worry if it looks silly at first! Every pro was once a beginner. The more you use T-Lines, the more awesome and real your pictures will look. Challenge yourself: try adding T-Lines the next time you draw a face, arm, or cool character!
Keep drawing, keep learning, and remember – sometimes the smallest tricks make the biggest difference.

Want more step-by-step drawing tutorials? Learn to draw with Wacom
Check out Wacom’s Learn to Draw page for tons of tutorials for character design, anime & manga, and more digital drawing tips from the experts!